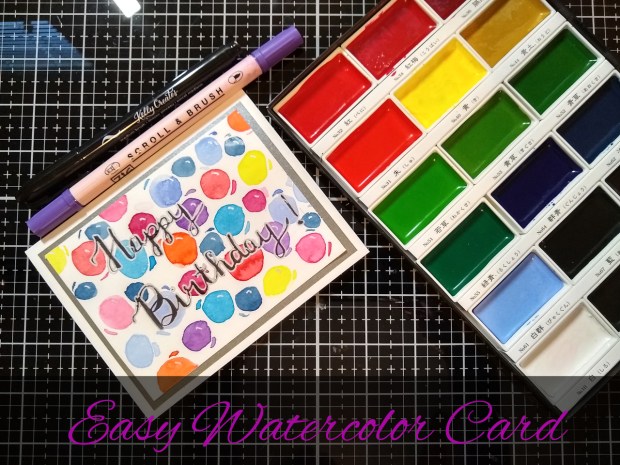
 I know I’ve been doing a lot of watercoloring lately. I can’t help it. It’s such a fun way to make a card. This time, I added details with a silver gel pen to create some highlights. I think it makes the circles look like balloons. You could try a white gel pen instead. The little lines I added around the circles give the whole thing some movement, which makes the circles look like they are floating around and bumping into each other. It shouts celebration!
I matted the card with some silver pearl paper by Cricut and then adhered that to the cardbase. I used Neenah Solar White 110lb carstock for the cardbase. There are lots of variations you can do with this card. You can change up the color scheme to fit your occasion, use a die cut greeting instead of hand lettering, overlap the circles to create a bokeh effect. As always, your imagination is the only limit.
Give this card a try. I’m sure you’ll find it fun to do. It is easy enough for kids to do, but anyone will enjoy making it. If you’d like to see a video, click on the YoutTube video below.
I am an Amazon.com and Scrabook.com affiliate. The links are free for you to use. If you click on them and make a purchase, I will receive a small percentage of the sale. Thank you for your support :0)
Kuretake Gansai Tambi Watercolors: https://amzn.to/2VFJcPE

Canson Mix Media paper 98lb: https://amzn.to/2JS8847

For the brush pens: there are so many on the market to choose from. I really like the Zig memory System I have, but they are expensive. I have the big set which I will link for you below, but I also link the newer brushables which come in a smaller quantity, and cost less.
Zig Memory System Scroll and Brush Markers: https://amzn.to/2M8eeA2

Zig Brushables: https://amzn.to/2YBtPd1

Kelly Creates Black Brush Pen Set: https://amzn.to/2WmtsWf

If you’d like to learn brush lettering, this is the workbook I used. (I am not an affiliate with Kelly Creates, I just like her products):
Kelly Creates Learn Brush Lettering Workbook: https://amzn.to/2Yzh2rw

Cricut Pearl Paper: https://amzn.to/2QunfC1