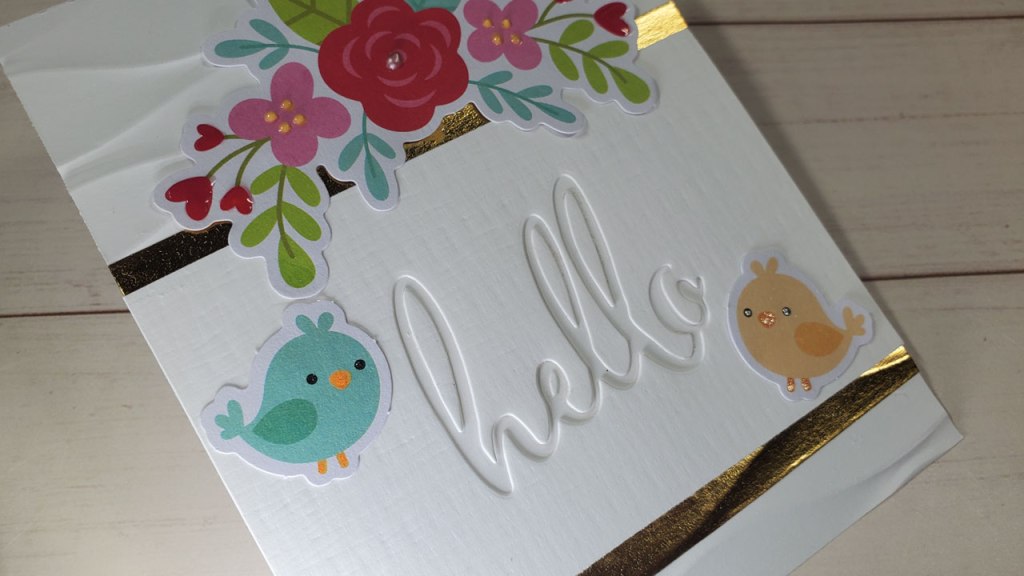
So excited to share this adorable and bright card! There is a lot of texture on this card thanks to the 3D embossing folder from Altenew called, “Ribbon Waves 3D” and an old onion bag! “What?” you say. “An old onion bag?” Yes, you heard that right. I cut up an onion bag and ran it through my die cutting machine with some white cardstock. That’s how the “cross-hatch” texture was added to the hello panel on the card.
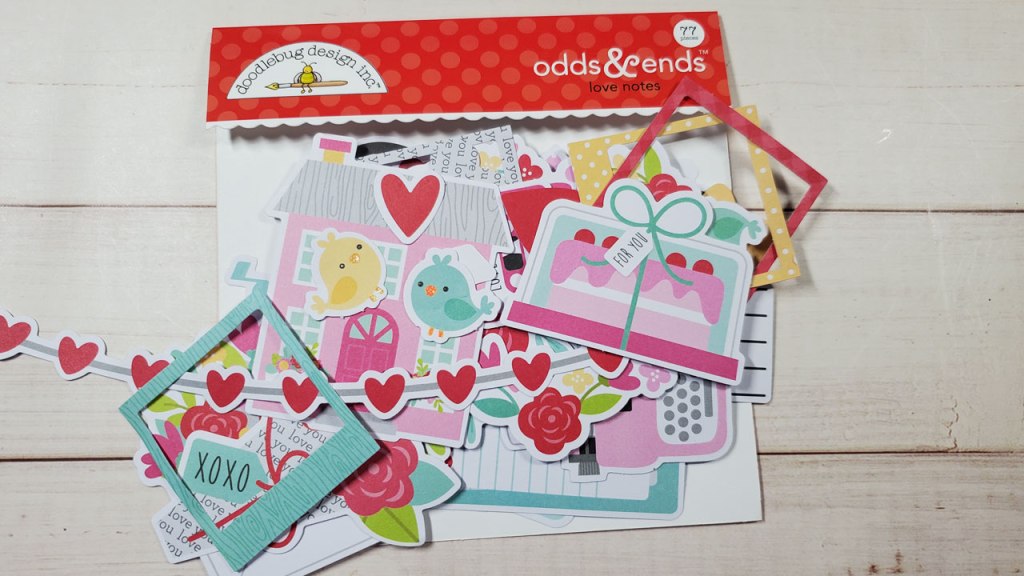
The adorable images are from a pack of 77 die cut shapes from Doodlebug Design Inc. called, “Love Notes” #6601. The greeting was created with a word die. The gold border is a metallic washi tape.
The adorable little birdies needed some glitter, so I used my glitter gel pens in black, yellow and orange to go over their eyes, beaks, and legs! Finally, I added some crystal nuvo drops in sugared almond for the flower centers, in morning dew for the hearts, and some Scrapbook.com pops of color in rose gold for the center of the rose. I love Scrapbook.com. They almost always have a FREE item with purchase. That’s how I got the adorable Love Notes Odds & Ends die cut shapes you see above.
Affiliate Links (These links are free to use and I will receive a small portion of any purchases you make using these links):
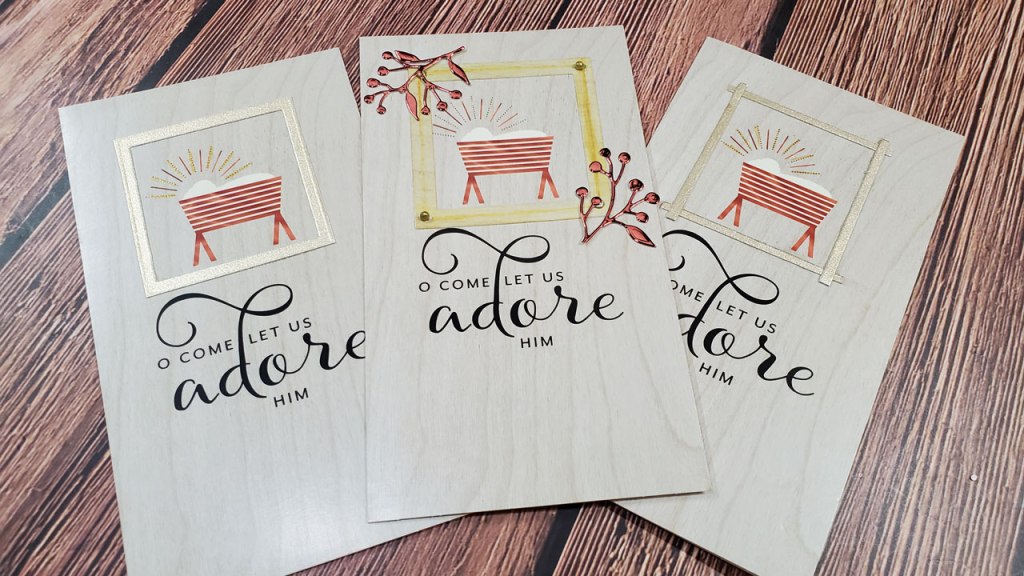
My idea to embellish this card stems from my desire to draw attention to the focal image on the card. It occurred to me to frame the baby Jesus. I tried lots of ways to do this (which you can see in my YouTube video below): die cutting the image out and popping it up with dimensional adhesive with a background of gold shimmer paper or mesh ribbon, using gold photo corners, and nesting square dies to create a square frame of gold shimmer paper.
Of course, I also wanted to add some sparkle and bling so I used my gold and silver Unibal gel pens to trace some of the light rays emanating from Jesus and added some dots to the word adore. In addition, I placed some clear gems above the light rays on one card, some Crystal Nuvo drops on another, and some pearls on a third. I hope you enjoy the video above.
Here is a link to the supplies I used on these cards. They are my affiliate links, which are free to you and will earn me a small percentage of anything you purchase using them. Thank you for your support.
Affiliate Links
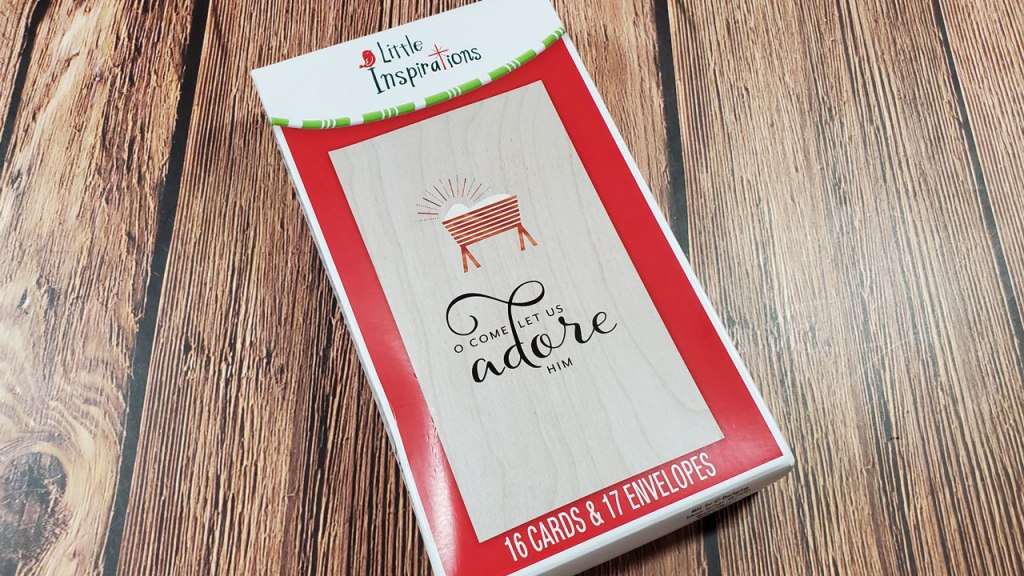
Dayspring Christmas Card Little Inspirations – O Come Let Us Adore Him – 16 Christmas Boxed Cards, KJV: https://shrsl.com/36qtz
The first way is an old school way of dry embossing using a stencil and embossing stylus with a light board. There are two things I love about this technique: you can pick and choose which image(s) you want instead of using the entire stencil and you can put them anywhere on your project! This technique can be used on any project, not just commercial greeting cards.
The second way to embellish is adding an image or element from a die cut to the front of the card. Of course, you can add it to the inside of the card as well. If you are not a fan of altering the front of a commercial greeting card, then jazzing up the inside might be the thing for you :0) Now, you don’t have to use an entire die cut, you can cut out the part of the die cut that you want to use, which is what I’ve done here. I cut out the stable with Mary, Joseph and the baby Jesus and left the rest of the die cut for another project.
I used my alcohol ink markers from Spectrum Noir to add some matching color to the die cut as well as the Wink of Stella glitter brush marker to add some sparkle and shine…after all Jesus is the light of the world!
The cards I’m using today are the In a Moment…Everything Changed J1479 Christmas cards from DaySpring.com. They are lovely and the folded card size measures 5 1/16″ x 7 3/4″. The message on the inside reads:
Jesus Christ— He made each star and galaxy. His birth fulfilled each prophecy. His power made the blind to see. His sacrifice set people free. His resurrection proved to be the turning point of history.
The link for them is below the video. Enjoy!
Affiliate Links (I receive a portion of the sale on any purchase you make using the Amazon and Share a Sale links below at no extra cost to you!)
Hello Fellow Crafters. I made a couple of digital images for you to celebrate World Cardmaking Day! For those of you who love to color, this is a great image because there are so many areas to color. Below is the floral image and you can use it in your personal crafting. Please do not use it in your commercial endeavors. Enjoy and check out the video below for a demonstration on how to make a simple flower using Inkscape-a FREE professional quality vector graphics software. You can download it at http://www.inkscape.org.
Hello! I’m so glad you’re here and I’m so excited to share with you some Christmas cards that I received from DaySpring. They asked me to add some personal touches to their, “In a Moment” J1479 Christmas Cards. So, thank you to DaySpring for this wonderful opportunity and thank you for visiting!
Embellishing ready made Christmas cards is a great time saver! Instead of having to start from scratch and do all the planning and design, all you have to do is break out all of your embellishing supplies. Things like silver or gold gel pens, rhinestones, liquid pearls or nuvo crystal drops, stencils, embossing folders, ribbon, stickers, and so much more. Anything that your imagination can think of! Take some time to look over the card and decide what you want to highlight or bring attention to.
Today, I chose to use four techniques to embellish the cards: stencils, stickers, rhinestones, and lights! To start, I used a “starburst” stencil to add some rays of light to the Christmas star at the top of the card with a silver gel pen. Take some time and look through your stencils to see if you have any that would help you add some defining or highlighting details to your cards. The word on the card was written with several flourishes, which needed some gems at the end to set them off. Finally, I decided to use some silver peel off stickers in the shape of hearts just to add some more shine to the card. When adding items to premade cards, be careful to follow the layout and flow of the card so you don’t upset the balance or overwhelm your viewer…and be careful to keep it in the same style.
For the second card, I chose to bring some actual light to the Christmas star. The chibitronics kit helped me with this. The kit comes with the copper tape, lights, and battery needed to make it as well as instructions. Although making a light up card might be intimidating to you, don’t let that stop you. It’s easier than you think and it’s so much fun for your recipient!
For the third card, I used my silver gel pen and a Hero Arts stencil called Stars Patterns Stencil to brighten some of the stars that were already on the card. That’s a good tip. Be sure to use what’s already on the card to guide your embellishments. Another one is to not overdo it. Too much can distract or overload your viewer.
For the fourth and final card, I chose to use another stencil called Christmas Joy. It’s from Echo Park’s new Christmas collection The First Noel. It is a Christmas star itself with rays of light all around it, but the rays are much shorter than the first stencil I used.
I hope you’ll give this a try and that you’ll have fun making them. It would be a great project to do with a friend or children! Enjoy the video below:
Recently, I purchased some fall card making supplies. I still have to get around to using them all before the season ends, but here is one for you. I purchased some dies, embossing folders, and stamps from Spellbinders’ new collection, “Fall Traditions” as well as other supplies which you can find linked below the video.
I simply used fall colored cardstock in red, brown, yellow, and green to cut out the parts of this adorable turkey. Next, I used some some Fun Stampers Journey stamps for the sentiment, which I stamped with Memento Dew Drop ink in rich cocoa. I hope you are inspired by this project to get creative and have fun making something!
Happy Turkey Day!
Affiliate Links (I receive a portion of the sale on any purchase you make using the Amazon and Share a Sale links below at no extra cost to you)
Christmas is right around the corner, so why not start on making some Christmas cards, right?! There are some adorable snowman, Santa, and reindeer dies from Spellbinders that I had to get. Even though they were released a while ago, they were too cute to pass up. Below is the card with the snowman. I used plain white cardstock to cut the snowman out and colored the pieces with my Zig Memory System Scroll & Brush markers. Then, I created a mat for the snowman using some oval, scalloped dies and red and blue cardstock. The front panel was cut from some Astrobright Confetti Cardstock. To add some more interest to the front of the card, I stamped some snowflakes in blue ink.
Affiliate Links (I receive a portion of the sale on any purchase you make using the Amazon and Share a Sale links below at no extra cost to you)
Cardstock Neenah Solar White Classic Crest 110lb Cardstock (for the card base): https://amzn.to/3ljFvfv Astrobright Confetti Cardstock 65lb: https://amzn.to/3gjNERq Core’dinations Chalk Core Cardstock in red and blue: unavailable
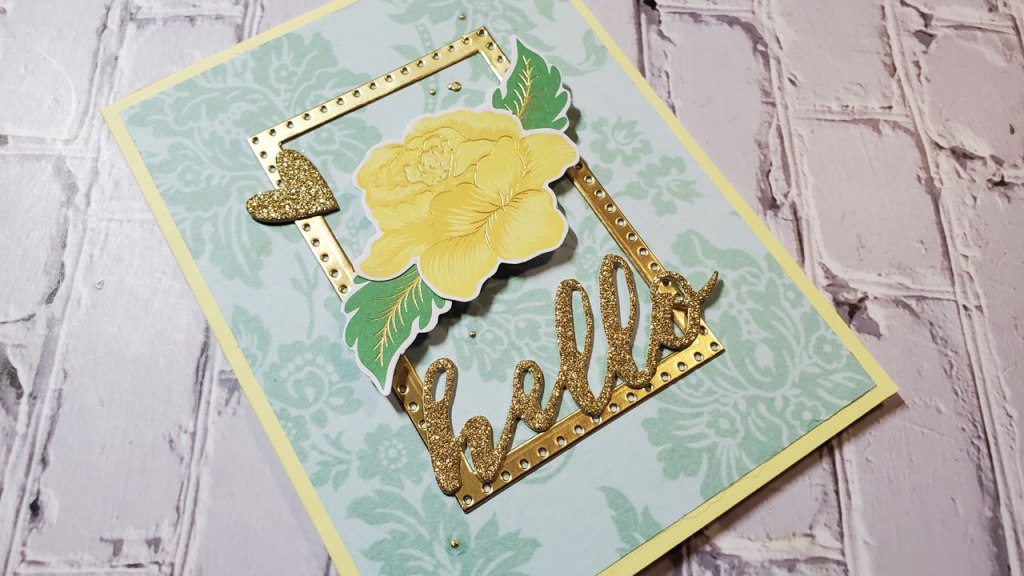
This year, I subscribed to a card making kit from Spellbinders. I’ve been very pleased with the kits and it has allowed me to make many cards to share with you. Below are two examples I made with the July 2021 card kit called, “Damask Daydream.” Of course, I do usually use my own dies to create frames, borders, or cut out sentiments. The glittered words below have much more sparkle in person. Enjoy!
Happy Birthday Hot Air Balloon
Purple and Gold make this card so pretty!
Hello Card
The green background paper appears to be flocked, but it isn’t. In the video below, I added a additional outside frame around the pattern paper.
Anti-Static Embossing Pouch: https://amzn.to/39DLibJ (You can make your own with a piece of cloth and corn starch. You just have to sew the pouch yourself and fill it with cornstarch)
Affiliate Links for Hello Card (I receive a portion of the sale on any purchase you make using the Amazon and Share a Sale links below at no extra cost to you)
Rhinestone Picker/aka Crystal Katana: https://amzn.to/3i8CIqY (The pretty “pen looking” tool used to pick up the tiny golden circles and place them on my card)
Today’s card is lovely and elegant, if I do say so myself! The light purple colors of the pattern papers are highlighted with the gold accents. It is an easy to make card, requiring only the ability to use a paper trimmer to measure out and cut the paper to fit the card base. The paper an die cut shapes are from the Spellbinder’s Card Kit of the Month for July 2021 called, Damask Daydream. To see how this card is made, watch the video below.
Affiliate Links (I receive a portion of the sale on any purchase you make using the Amazon and Share a Sale links below at no extra cost to you)
Nicapa Standard Grip Cutting Mat (12×12 inch,3 Mats): https://amzn.to/30C3i26 (I trimmed these down to fit inside my stamping platform so it would hold my paper and cards in place)
The card for today uses patterned paper that is reminiscent of a multimedia project such as an art journal or collage. The effect, in my opinion, is always unique and interesting as well as beautiful. I used that theme to create the card using supplies from the Spellbinder’s July 2021 card kit of the month called, “Damask Daydream” as well as my own tools and supplies.
Multimedia is fun because you can play with your supplies and get your hands into it. Don’t be afraid to get ink or glue on your hands. Be a kid again and just have fun with it! As you can see from the video below that I used repetition in my design by having the die cut flower appear three times in a line on the card. This is a common way to create interest in your card. After die cutting the flower, I used some Nuvo drops in bright gold to add some shine to the flowers here and there. Of course, I used my fingers to add it because that is half the fun of making art-getting messy!
I hope you’ll choose to give this card a try and don’t be afraid to play around with what you have. Even if you don’t have the same supplies seen in the video, look around in your craft supplies and see what alternatives you can come up with. Most of all, have fun and be fearless in your creativity!
To see how I made the card, watch the video on YouTube, which you can see below. I’ve posted an additional video below the YouTube video showing how I decorated the inside of the card.
Affiliate Links (I receive a portion of the sale on any purchase you make using the Amazon and Share a Sale links below at no extra cost to you)